This post may contain affiliate links & I will earn a small commission if you purchase through them.
Background Information on my Experiences
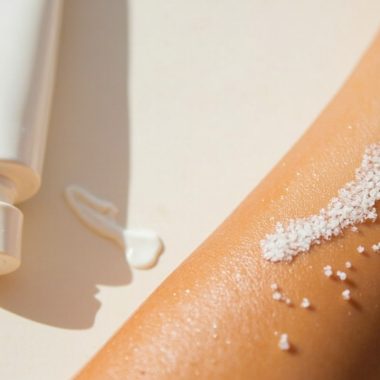
I started really caring about my skin in 2013. I began doing face peels at home, and discovered a wealth of information and do-it-yourself skincare practices, that have since evolved. I also began microneedling with an affordable microneedling roller in 2014, and did so sporadically at that time but it was not invasive, and was only a light treatment. At that time, I was keeping a close eye on progress and taking before and after photos. Then, I focused more on doing face peels, and less on doing microneedling. If you’re wondering why I would stop doing something that would help with skincare, it was more because I was having health issues that were unrelated, and skincare was not a priority or concern. So, four years went by before I started doing proper treatments.
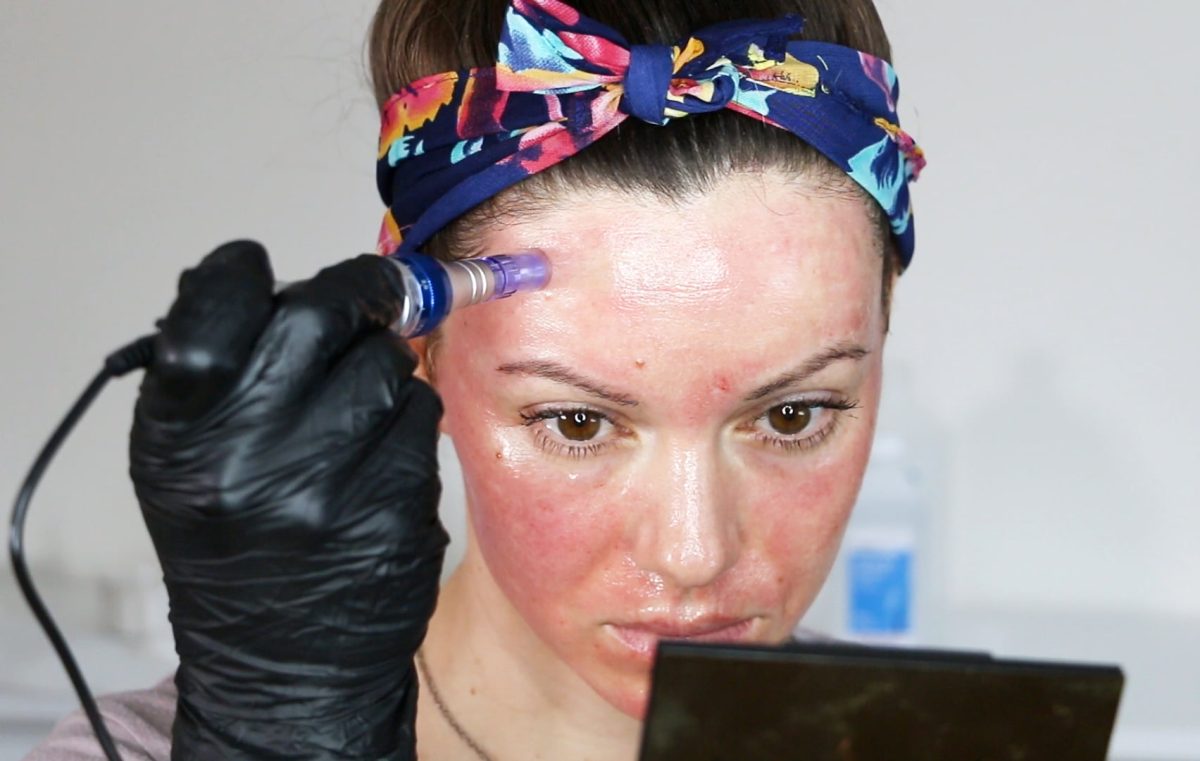
The microneedling rollers are effective, but I wanted to see how effective microneedling with a pen tool could be. So, that’s why I’m documenting it here, for all to see. If you are using a microneedling roller, I believe it can still be very beneficial. I just wanted to take things to a new level. I started microneedling with a pen device in 2019. I share some details of my very first experience microneedling with it, below.
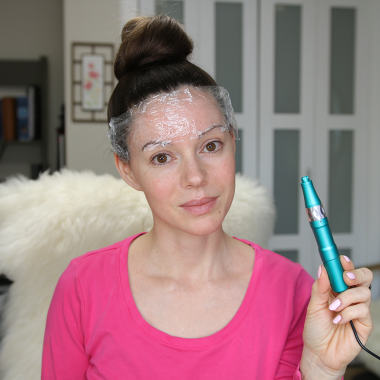
Microneedling Treatment #1 with Dr. Pen
Purpose for Treatment:
- Specifically, to get rid of or lessen wrinkles on the forehead – one main one in the middle
- To lighten lines around mouth and eyes
- Improve skin texture below eyes, where it is thinner, with lines and has hallowed areas
- Improve hyperpigmentation on cheeks
- Improve skin texture, thickness and collagen
Needle Depths Used on This Treatment:
- 0.5mm used on entire face initially
- 1-1.5mm used in a few specific places to spot treat
Final Thoughts on my FIRST Treatment
It takes time to see results from a treatment like this. So, I am optimistic. At the time of writing this, it’s only been a few days since the treatment. My skin currently is dry and not looking great. It almost looks a bit worse, but it is normal as it’s going through a healing process, and is currently in a dry stage. Though my face was insanely red, it went down in a few hours. My skin continued to look blotchy, and still does a little bit on day 3. I look forward to updating you guys with how things are going, progress and the entire process.
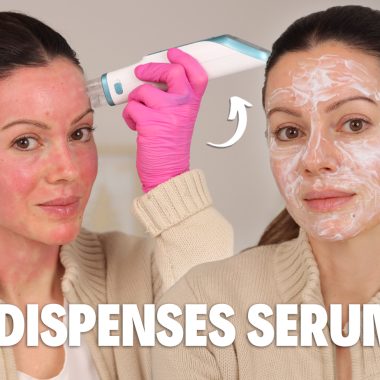
Checkout This Post to See Results After 8 Treatments
I did one treatment every-other-month and I share the full results and before-and-after microneedling photos with you on this post.
My Face While Microneedling


Hi,
Can you guide me from where i can get this product and i never use this before at home is this safe for me i am 32 years.
Thanks
Hi I really like to know what u gone apply before needling can u please share where can I buy that?
Hello I got the exact pen you got I got the serum and my question is do you press on the pen while using it or just glide over your face like your coloring on paper ?
Hey Holly, how often can you microneedle? Also can you reuse your cartridges and if so, how do you properly disinfect them?
Hi Holly,
Do you use a cream to numb your skin before micro-needling? Hyaluronic acid – I cannot get the one you recommended. Can I use other brands?
This is a very well made video and comprehensive. Thank you so much.